Installing the firmware
Each ESP8266 chip needs to have firmware installed. This can be done using a special SmartESP programmer, or manually using your favorite software. The advantage of the SmartESP programmer is that in addition to loading the firmware, you immediately configure the connection to the WiFi network.
Option: SmartESP Programmer
So, download the archive file withthe SmartESP programmer and unzip it on your computer. Connect the Wemos D1 mini controller to the computer via a USB cable and determine the port to which it will be connected, for example COM3 (this is easy to find out using the device manager).

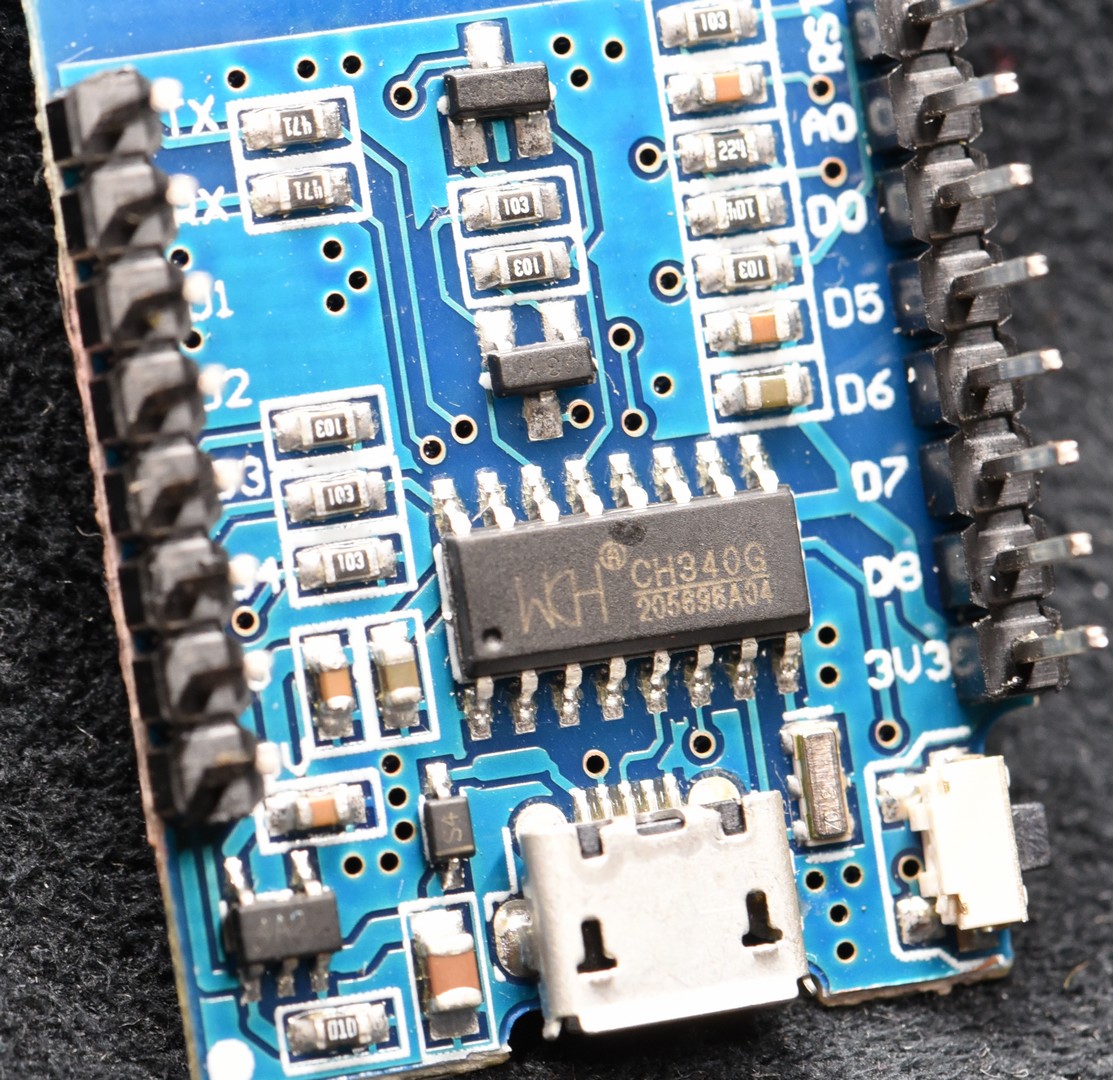
If it so happens that you cannot find a new COM device in the list, it means that you need to install a driver. Which driver you need can be determined by looking at the chip on the board, for a controller like Wemos D1 mini it is usually CH340 or CP2104 .
Launch the SmartESP application, select the COM port to which the controller is connected and click the Connect button. The connection will be established and the ONLINE indicator will light up.

You can proceed and perform initialization by pressing the corresponding Initialize button. The WAIT indicator will turn on and the initialization firmware recording procedure will begin.

Once this process is successfully completed, the READY indicator will turn on.

Go to the Access tab, here you need to set the main settings of the controller.

- Wi-Fi access - parameters (name and password) for connecting the controller to your WiFi network.
- Network - controller network parameters. If left blank, the IP address will be issued automatically by the router.
- Name - name of the controller in the network (Latin characters).
- Password - password to access the controller.
- Board Hotspot - emergency connection settings to the controller if it cannot find your WiFi network. By default, the current settings will be displayed there. We strongly recommend changing them for security reasons!
Press the Save button and the controller will reboot, after which it will connect to your WiFi network. If it succeeds, the inscription GOT ACCESS will appear, and next to it the dynamic (random) IP address of the controller in your WiFi network, which was given to it by the router. However, we need the controller to always have a static (permanent) IP address. This can be done by filling in the Network section, where you manually specify the IP address of the controller. The Gateway and Network parameters are saved as is, they can be automatically copied if you click the cursor on the green bar at the top. After completing the settings, press the Save button again.


Go to the Firmware tab and select the firmware of which project you want to load into the controller. Please note that you will need an Internet connection to load it. First, the firmware will be loaded from the server, and then it will be written to the controller. After writing, the controller will reboot and its LED will blink slowly, and then go out. This will mean that your WiFi network has been found and the controller has successfully connected to it.

You can go to the Setup tab or open the controller's web page in your browser to check and configure other settings.

However, this can be done more conveniently using the SmartESP server, so knowing the IP address of the controller, it is better to move on to the next step: Registering the controller on the server .
Option: Self-installation
Please note, this option requires a higher level of knowledge in controller programming!
The firmware installation can be done manually by simply downloading the bin file from the relevant project page and then using third-party software to load it into the ESP8266 chip.
Go to the project page and download the firmware bin file to your computer:

Connect the controller to the computer via a USB cable directly (for Wemos D1 mini) or a USB-UART-TTL adapter. Check for the necessary drivers. After connecting, a new COM port should appear. Use third-party software to install the firmware on the controller, for example, Nodemcu Flasher :


Reboot the controller by reconnecting its power supply. If it is Wemos D1 mini , then after turning it on, the built-in LED will start blinking quickly. This means that the firmware is installed correctly and the controller operates in access point mode. Next, you need to connect the controller to your WiFi network.